

Introduction
This post will give you quick information about JHipster and show you how can you create a fully configured Monolithic Spring Boot application with custom entities with Tests, under 15 minutes.
JHipster
JHipster is an open-source development platform to generate, develop and deploy Spring Boot + Angular / React / Vue Web applications and Spring Microservices. It can be quite flexible with various options while creating a new project or bootstrap applications to study new technologies or prototype them.
All you need to write a few shell commands and voila! JHipster will take care of all business. In a minute your application is ready with the following key features:
- Documented REST API
- Automated Tests
- Authentication and Security Support
- Database Integration for your need (Relational or NoSQL)
- Responsive Frontend (Optional)
- Monolithic or Microservice Architecture with Industry best practices
Why Should I Use JHipster?
- It’s an open-source code generator
- Supports all popular Frontend Frameworks like Angular, Vue and React
- Comes with Industry Best Practices on Frontend and Backend Side
- Supports Spring Boot 2.2.5 so we can develop with Java 11+
- Typescript support for frontend frameworks
- Out-of-the-box Authentication and User Management
- Provides a robust microservice architecture with the JHipster Registry, Netflix OSS, the Elastic Stack and Docker
- Build your application with Yeoman, Webpack and Maven/Gradle
- Reactive Support
And many other nice features within.
How cool isn’t it? Let’s dig into it.
Quick Start
Requirements
Beforehand, make sure to install Git, Java and Node.js to keep on.
Then install JHipster as an npm package
$ npm install -g generator-jhipsterAnd check the version of JHipster with
$ jhipster --versionCreate a new Project
To create a project, open a terminal window and create a directory. For example, mkdir jhipster-blog.
$ mkdir jhipster-blog && cd jhipster-blogNavigate into the directory and run jhipster.
$ jhipsterYou’ll be prompted to answer a number of questions about the type of application you want to create and what features you’d like to include. The screenshot below shows the choices I made to create a simple blog application with Angular.
For this post, I’ll follow the Monolithic Architecture approach in JHipster.
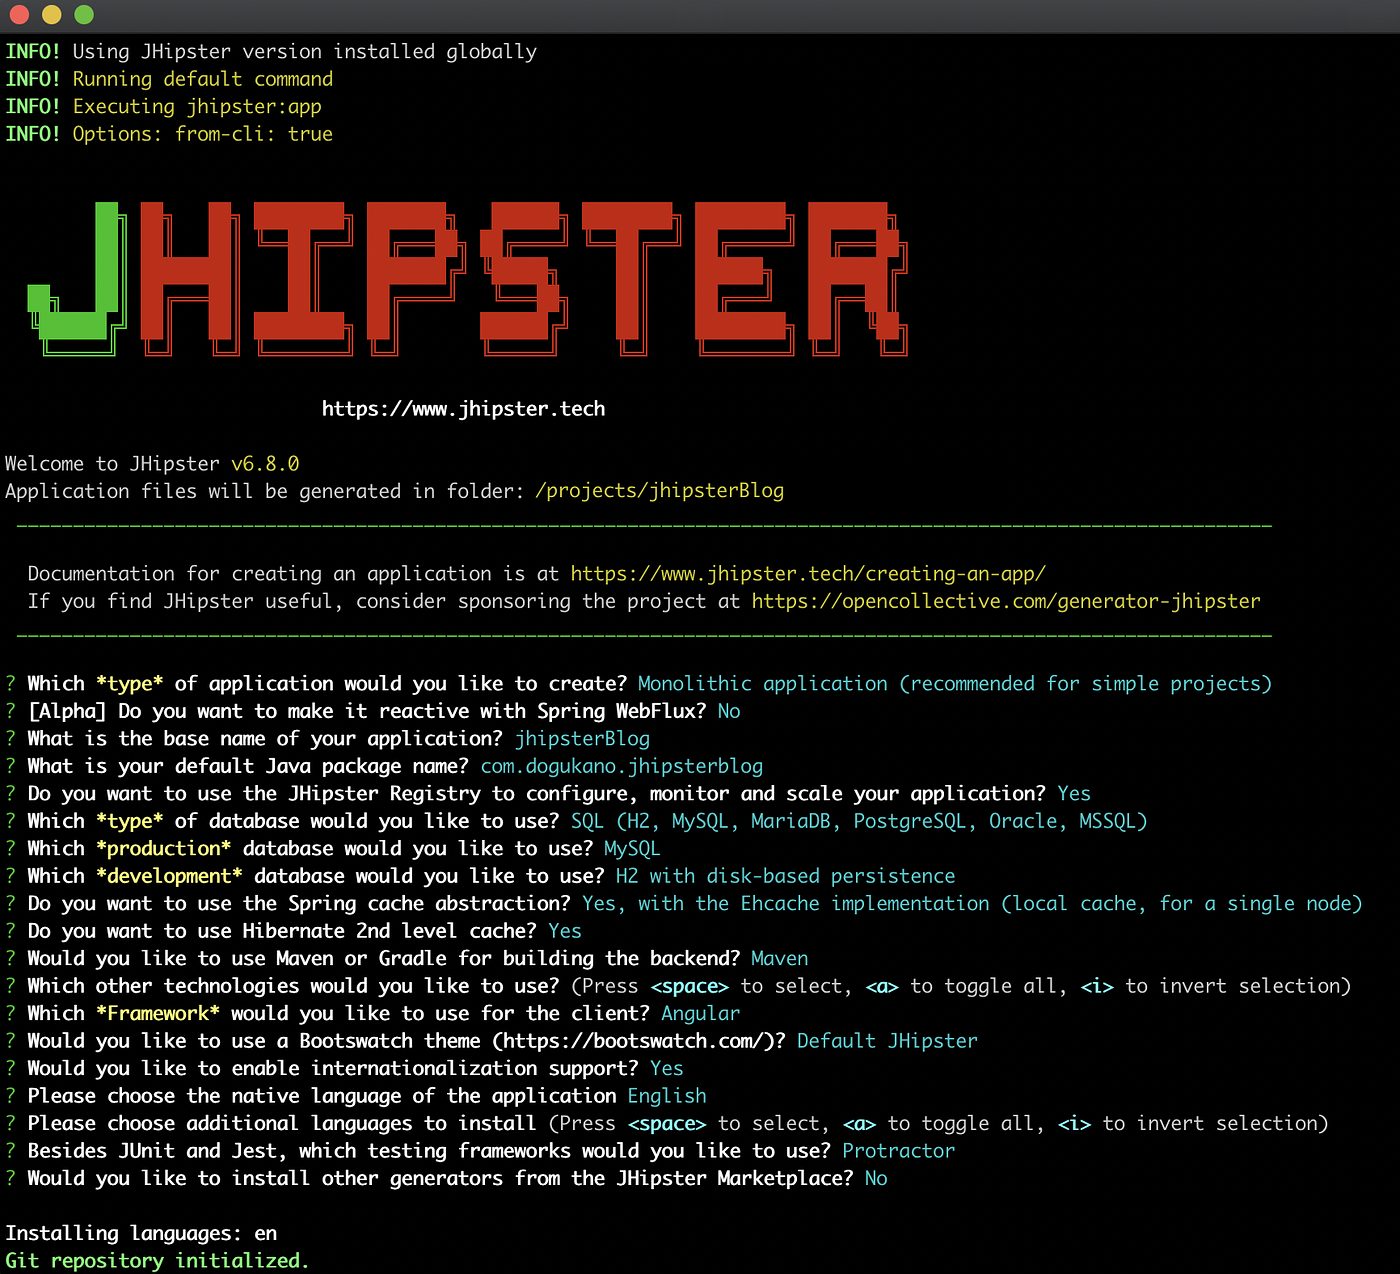
Figure 1 — Generating the application
JHipster project creation will take a couple of minutes to run. When it’s finished, you should see the expected output like below.
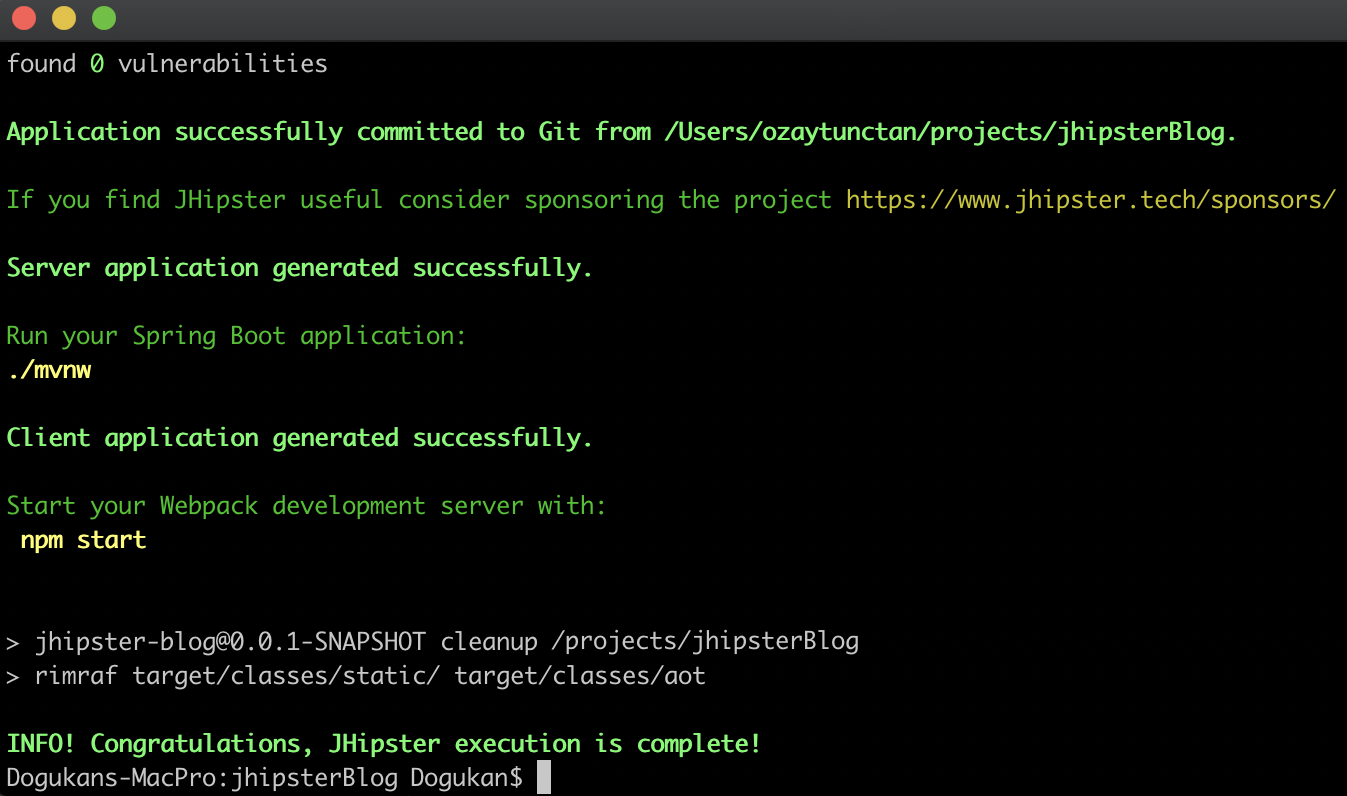
Figure 2 — Generation Complete
Then, run the following command to start the application.
$ ./mvnwYour application will start under,
http://localhost:8080
Figure 3 — Login Page
This login page gives information about JHipster Application. You can log in with the default username “admin” and password “admin” or you can also register a new account on this page.
JHipster provides the box solution for login and account management. Under Administration Tab, you can manage users also like in Figure 4 below.
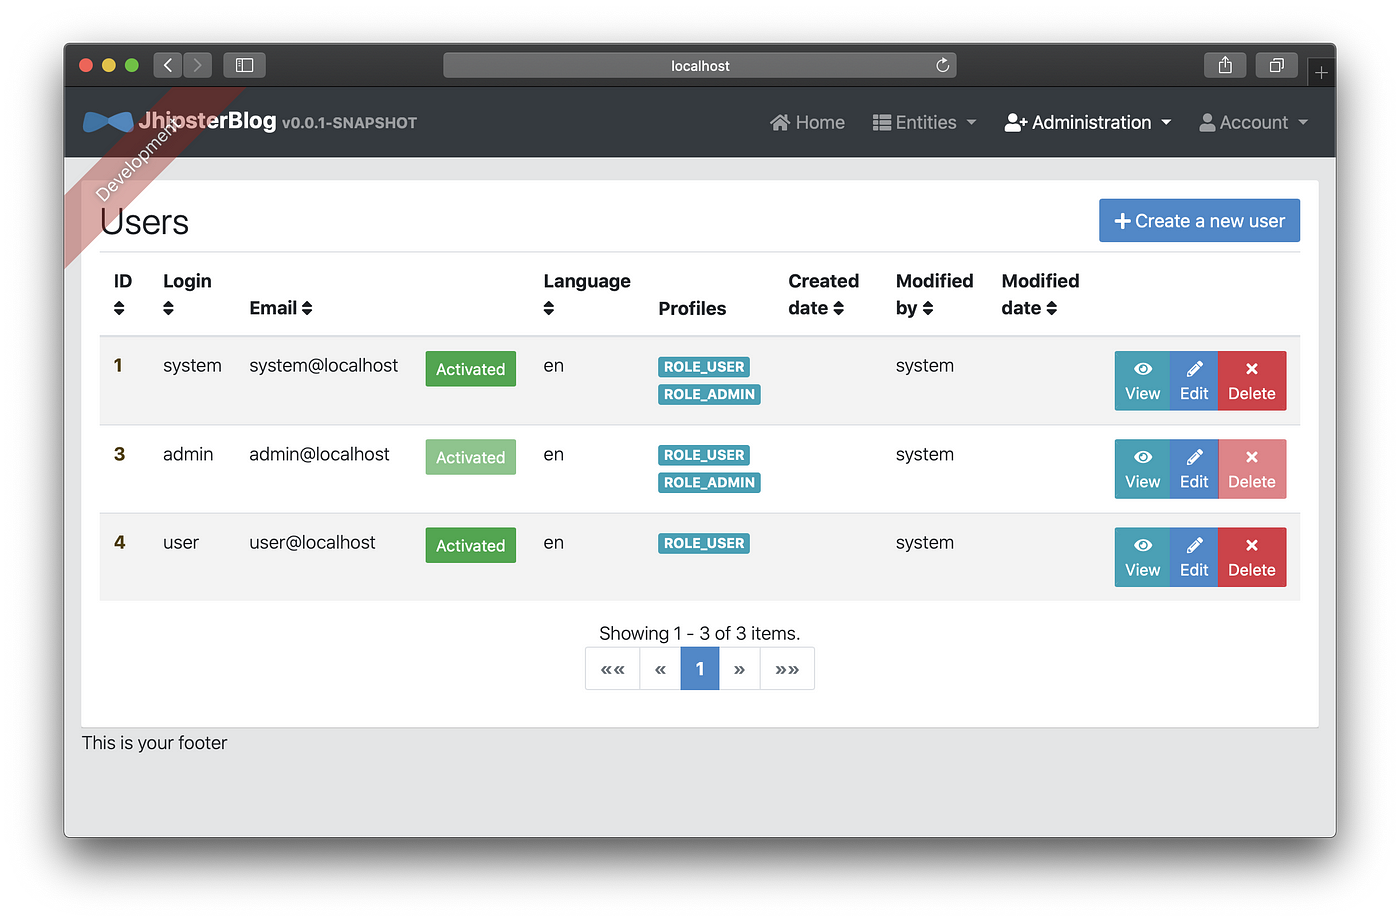
Figure 4 — User Management Screen
Check the Application Metrics. Gives information about JVM, Garbage Collector, Request metrics, and so on.

Figure 5 — Application Metrics
You have Swagger documentation from the beginning of your application. Go Administration → API and you can see all endpoints with details.

Figure 6 — Swagger Documentation
You can run Protractor tests also with the following command to see if everything works correctly.
npm run e2eThanks for reading. If you like JHipster please give an ⭐ on Github.
If you like the post don’t forget to leave Claps 👏!